My Home: Laundry Room Part 2
After several weeks of living amidst the chaos, we are nearing the end of our Laundry Room renovation! With only tiling & styling left, we can finally see the light at the end of the tunnel. However, even as a seasoned Designer I often forget how your own projects seem to take longer than you hope. I've learned to adjust my expectations, be patient & stay positive throughout this whole experience.
This week I thought I'd share some of our finalized selections, as well as a small project update.

Shop the look below!
1. Shelf 2. Hardware 3. Laundry Basin 4. Countertop 5. Faucet 6. Backsplash Tile 7. Cabinets

We went back & forth on the backsplash material. Originally I chose a cool, very affordable peel & stick option from The Home Depot. However, it just seemed too flimsy for the space. So I opted for a large-scale 4"x8" classic subway tile from Olympia Tile. I know that I will never grow tired of this timeless pattern!

You may not notice it in the photo, but the walls in the space bowed so much that the counters had to be custom-cut into the walls in some areas. Oh the joys of owning a century home!
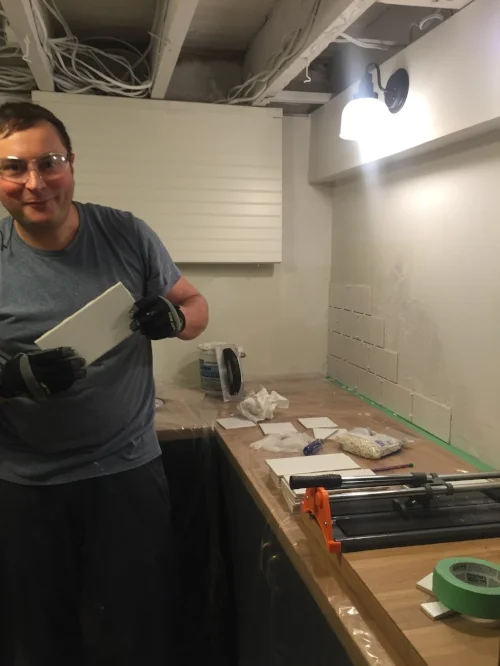
Here is my husband Kris excitedly trying his hand at laying tile for the first time! It's starting coming together!

Time for some grouting & finishing touches & we're almost there! We chose a bright white grout - more forgiving than a dark colour especially for my husband's first time !
We are so close I am almost excited to do my first load of laundry (key word: almost). Be sure to check back to see how I decorate & style the space once it's completed... Here's a sneak peek of one tiny corner I set up for my sister's arrival for Christmas.
